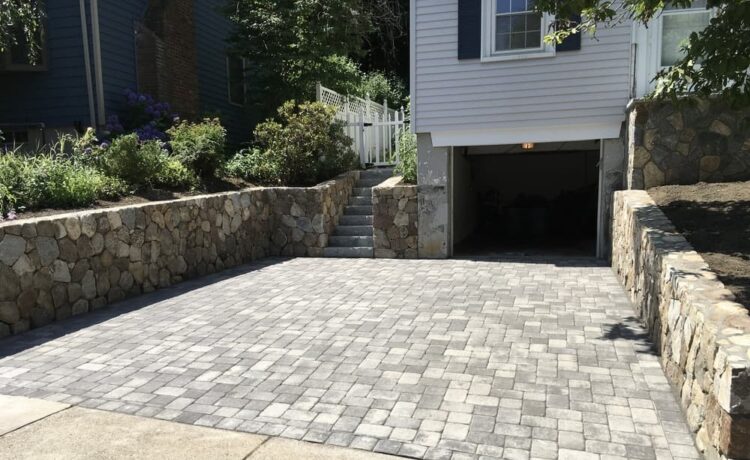
Installing a paver driveway represents a significant home improvement project that can enhance both your property’s curb appeal and value. This comprehensive guide will walk you through the essential aspects of paver driveway installation and maintenance.
Understanding Paver Driveway Basics
Interlocking concrete pavers have become increasingly popular for driveways due to their durability, versatility, and aesthetic appeal. These individual pieces work together to create a strong, flexible surface that can withstand heavy vehicle traffic while maintaining its beauty for decades when properly installed.
Essential Steps in Paver Driveway Installation
1. Planning and Preparation
The foundation of a successful paver driveway begins with proper planning. This includes measuring the area accurately, determining proper slope for drainage, and marking utility lines. Proper preparation prevents future problems and ensures a lasting installation.
2. Excavation and Base Preparation
The excavation depth typically needs to be 8-12 inches, depending on soil conditions and climate. The base material, usually crushed stone or gravel, must be properly compacted in layers to provide stable support for the pavers.
3. Installing Edge Restraints
Edge restraints are crucial for preventing pavers from shifting and spreading. These should be securely anchored into the base material to maintain the integrity of the driveway’s shape over time.
4. Sand Layer Application
A layer of bedding sand, typically 1 inch thick, provides a smooth surface for laying pavers. This layer must be carefully screeded to ensure consistent thickness throughout the installation area.
Key Considerations for Success
Climate Adaptations
In areas with freeze-thaw cycles, special attention must be paid to:
- Proper base depth
- Adequate drainage systems
- Appropriate paver selection
- Joint sand stabilization
Pattern Selection
The pattern choice affects both aesthetics and structural integrity. Running bond, herringbone, and basketweave are popular options, each offering different levels of load-bearing capability and visual appeal.
Maintenance Guidelines
Regular maintenance helps ensure your paver driveway remains beautiful and functional for years. This includes:
Immediate Care
After installation, the surface requires careful attention during the first few weeks. Allow the joint sand to fully settle and avoid heavy vehicle traffic initially.
Long-term Maintenance
Routine maintenance involves inspecting for loose pavers, maintaining proper drainage, and occasionally reapplying joint sand. Sealing the surface every few years can help protect against stains and extend the driveway’s lifespan.
Common Installation Mistakes to Avoid
Poor base preparation ranks as the most common mistake in paver driveway installation. Other critical errors include:
Installation Errors
Insufficient compaction of base materials often leads to settling issues later. Similarly, improper grading can result in drainage problems that compromise the driveway’s integrity over time.
Material Selection Mistakes
Choosing pavers not rated for vehicular traffic or failing to account for local climate conditions can lead to premature wear and damage.
Future Considerations
One significant advantage of paver driveways is their repairability. Individual pavers can be replaced if damaged, and the entire surface can be lifted and reinstalled if underground repairs are needed.
Remember that while DIY installation is possible, professional installation often proves more cost-effective in the long run due to proper equipment usage and experienced implementation of installation techniques. The key to a successful paver driveway lies in thorough planning, proper installation techniques, and consistent maintenance practices.


